Thursday, September 18, 2014
Amanda Tote/Purse sew along
The first step of the sew along is now available on Boutique Birdie's blog.
Wednesday, September 10, 2014
Sew Along for the Amanda Cross-Body Purse and Amanda Quilted Tote

To purchase the patterns, go to my Craftsy shop where you can find the Amanda Cross-Body Purse and the Amanda Quilted Tote as well as the Amanda Quilted Bundle which includes the purse and tote.
Friday, August 22, 2014
Back to School Sale - save 35%

Monday, August 4, 2014
Pre-release offer on upcoming patterns


The Amanda Cross-Body Purse
The Amanda Quilted Tote
The Amanda Cross-Body Purse and Quilted Tote Bundle
Thursday, July 31, 2014
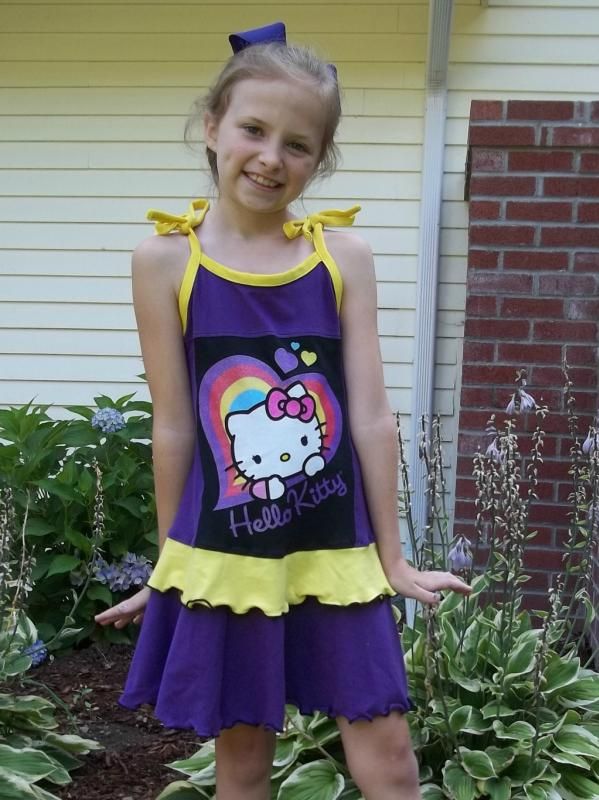
Rachel Knit Dress - Shoulder Strap Tutorial by Tricia of Treasure Lee Boutique
The following tutorial is a fun version of my Rachel Knit Dress pattern. This tutorial is a variation of the dress created and documented by Tricia of Treasure Lee Boutique.
|
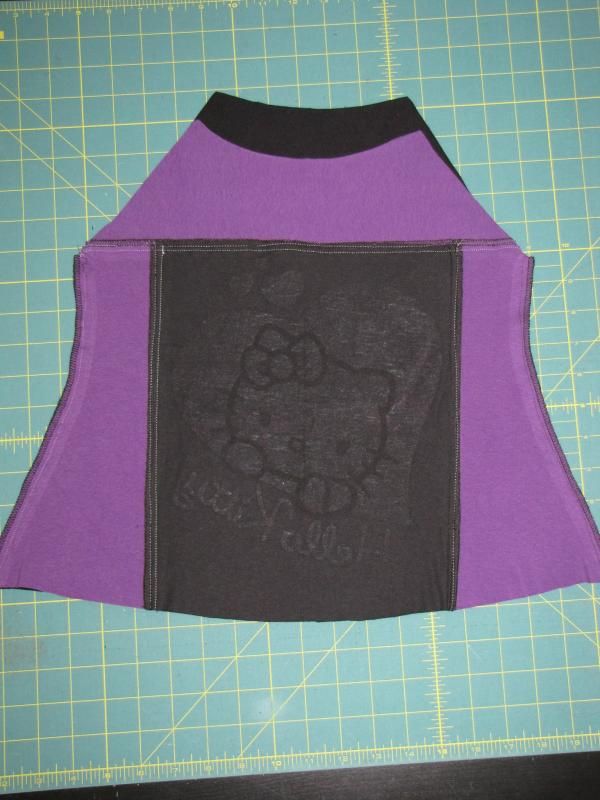
For this variation, you'll need: * Front (one piece or pieced is up to you) * Back * Flounce (I used the Bottom and Top flounces only but any of the options included in the pattern will work well) Note: You do not need sleeves or the neck binding listed in the pattern |
|
With right sides together, stitch Front to Back along the sides from underarm to bottom. Finish the seams as desired. Note: Leave these pieces right sides together for the next step. |
|
|
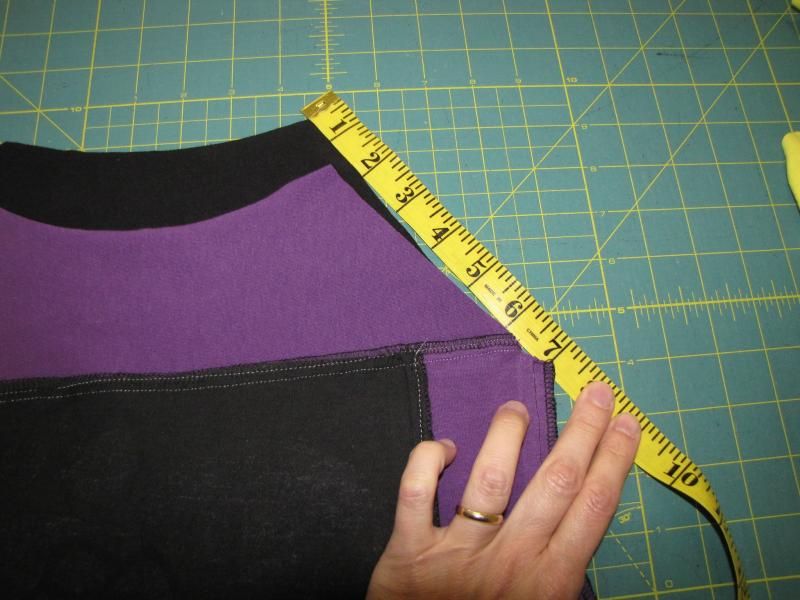
Next you'll determine how much 2" wide binding you'll need. First, measure along the sleeve edges of the Front and Back. In my example, the total length of these was about 12". Add at least 24" to that measurement for the tie straps. (Note: I used 36" for my total length but it was JUST enough so I think I'd add a few extra inches next time.) Measure across to upper edge of the Front and also along the upper edge of the Back. For the size 6 of my example, I cut these 9" in length. Now cut 2 sleeve edge binding pieces (one for each armedge plus straps) 36" x 2" and two pieces 9" x 2" for the Front binding and Back edge bindings. Note: You're pieces may be a different length based on the size you're making. Note: Cut the binding so the longest dimension goes across the width of the knit. |
| Here are my sleeve edge bindings cut. There are shorter pieces for the front and back neckline missing from this picture but you'll see them later. :) | 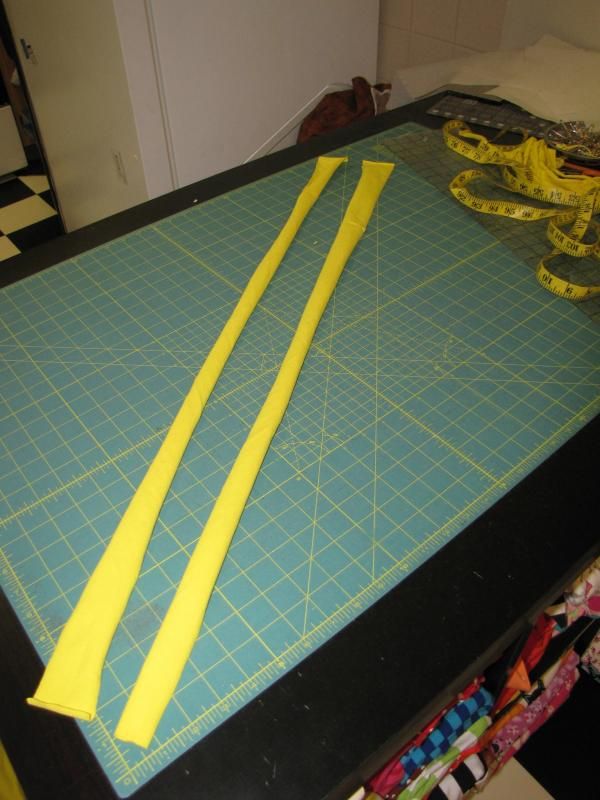
|

|
Fold both short ends of one sleeve edge binding 1/2" toward the wrong side and press. Repeat with the other sleeve edge binding. This will give you neat ends on your straps later. |
| With wrong sides together, fold one sleeve edge binding in half along the length and press. Repeat with the other sleeve edge binding as well as the Front and Back bindings. | 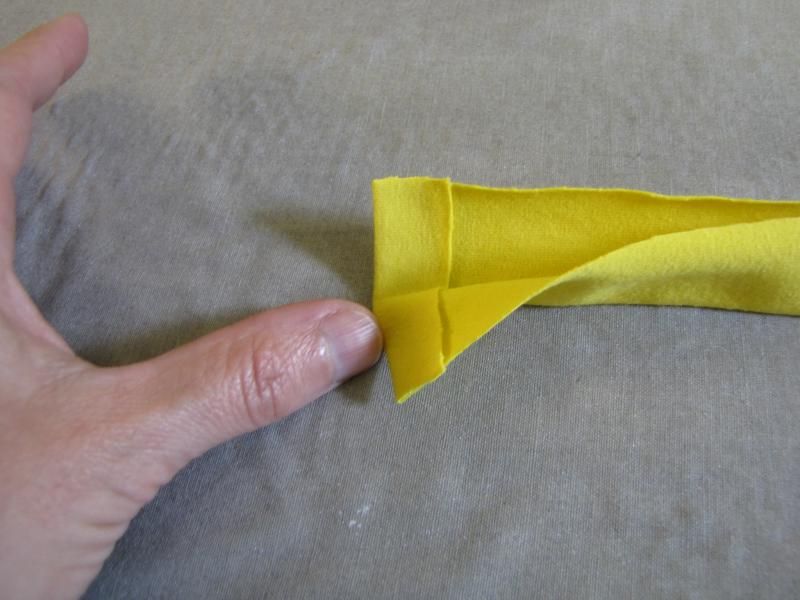
|
|
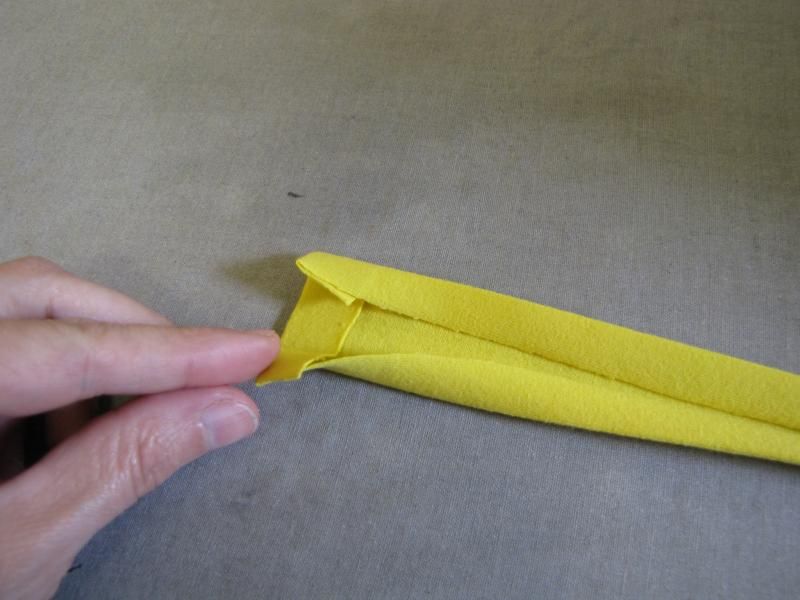
Unfold one sleeve edge binding along the length, fold each long edge to the center crease and press. Fold again along the center crease and press once again. Repeat with the other sleeve edge binding as well as the Front and Back bindings. |
| This may seem like a lot of pressing but it's worth it so you end up with a nice neat length of binding. | 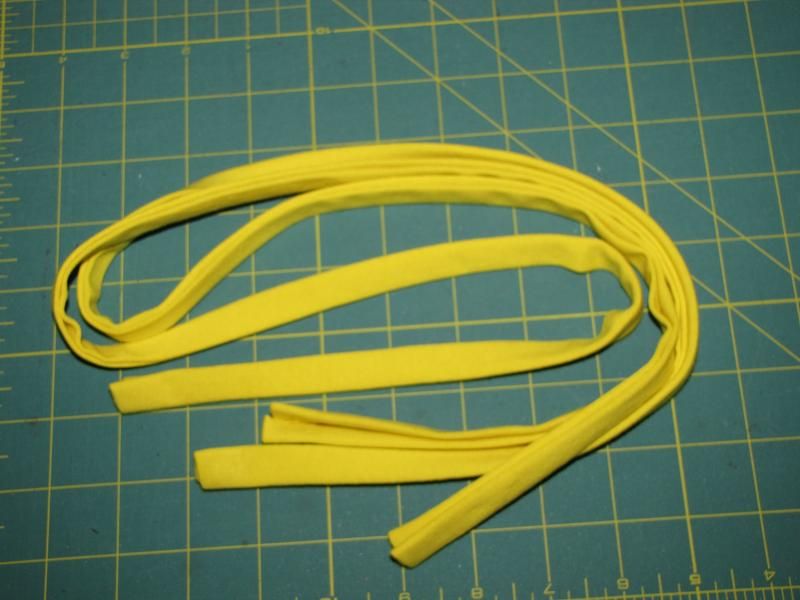
|
|
With the bodice inside out, unfold one side of the Front binding along the upper edge of the Front, matching up the raw edges. (Note: the right side of the binding will face the wrong side of the Front). Stitch along the crease line. Note: I stretched the binding just a bit when doing this so that it will spring back to laying flat when I am done. Repeat with the binding on the Back. |
| Turn the bodice right side out. Your Front binding should look like this. | 
|
|
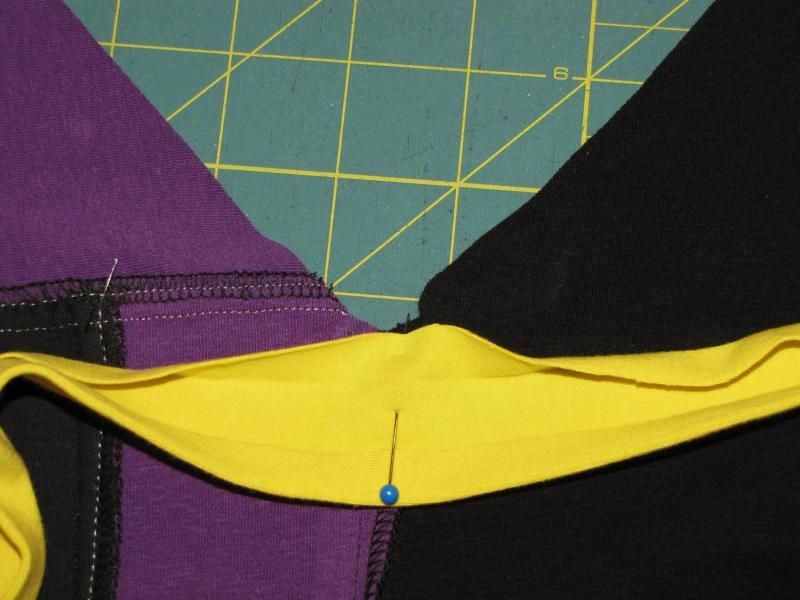
Fold the Front Binding to the right side of the Front keeping the binding's center fold along the upper edge. Pin in place if desired. (Note: the right side of the binding will face the right side of the Front.) Repeat with the binding on the Back. |
|
On the right side of the Front, stitch along the Front binding close to the lower folded edge. Repeat with the binding on the Back. |
|
|
Take one sleeve edge binding and find the center of the length. Unfold the binding and pin the center point to the side seam of the bodice. (Note: the right side of the binding will face the wrong side of the bodice.) Now line one edge of the binding along the Front and the Back to the neckline edge, matching the raw edges of each and pinning as needed. |
|
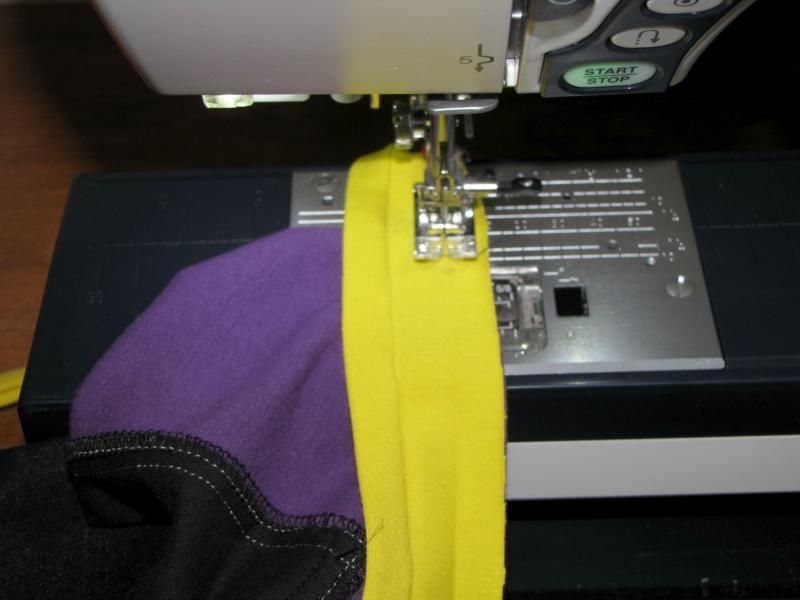
Starting at the front neckline edge, sew the sleeve edge binding to the bodice from the back neckline edge to the front. Repeat with the other sleeve edge binding on the other armhole edge. |
|

|
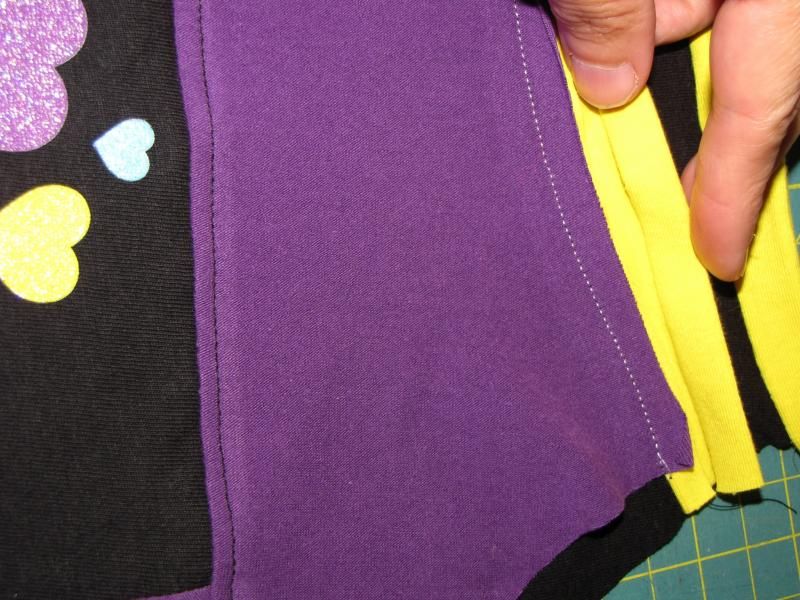
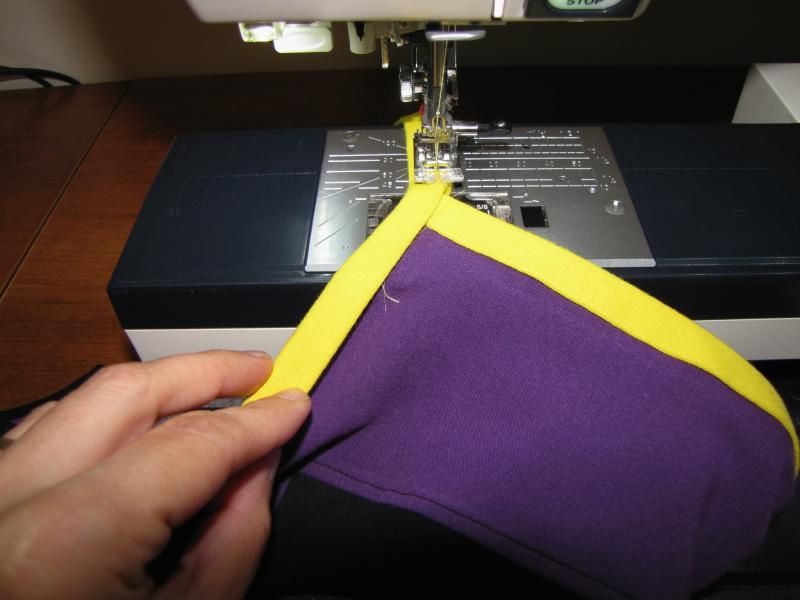
It should look like this on the front. Note: I forgot to take a pic of the arm binding but it looks the same at this step as the Front edge binding. |
|
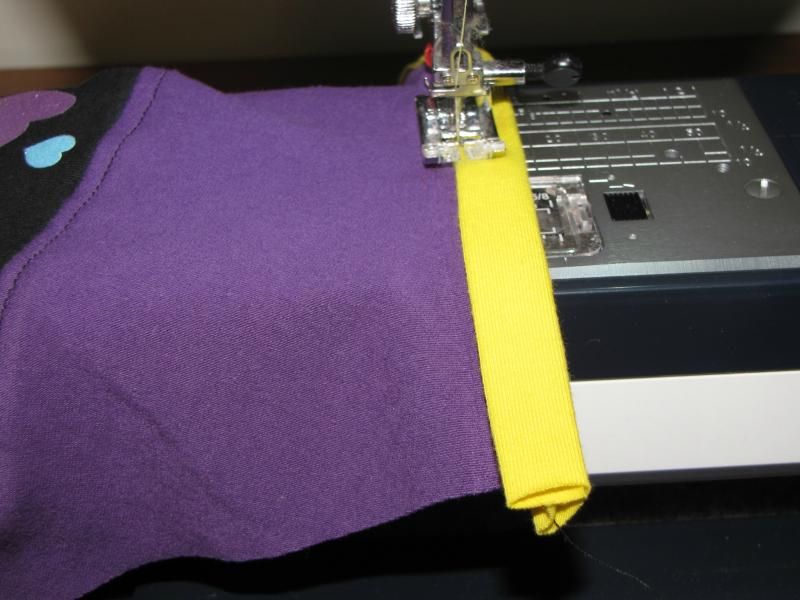
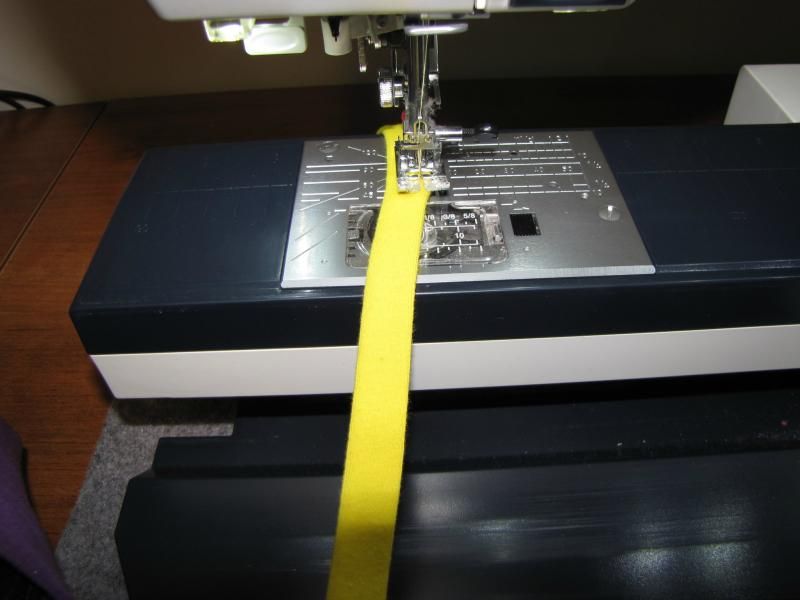
Next, topstitch from one end of the sleeve edge binding strap all the way to to the other end making sure to backstitch at both ends. Tip: The bobbin stitching on the strap area will show so make sure you use bobbin thread that matches the thread in the needle. |
|
|
When you get to the point where the sleeve edge binding meets the Front or Back edge binding, make sure the raw edges of the Front/Back edge binding are neatly tucked in so there are no exposed edges. |
| Tip: I had a bit of a hard time starting to sew at the end of the straps where the knit is so thick so I think when I do this again, I'll start my topstitching at the side seam and sew to one strap end then go back under the arm and sew to the other end. | 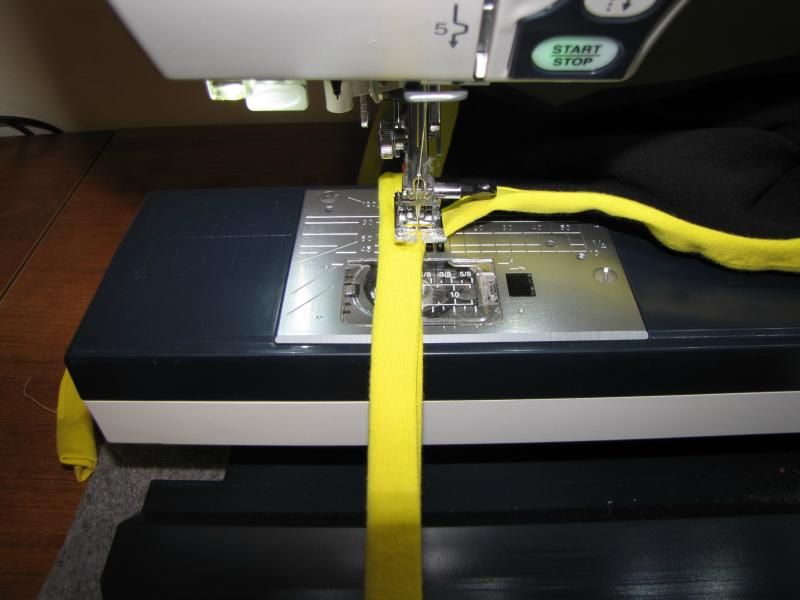
|
|
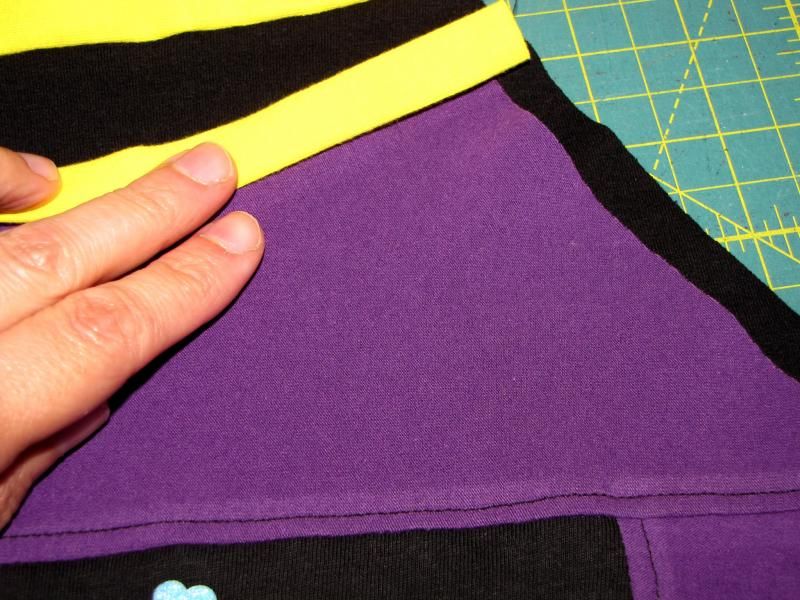
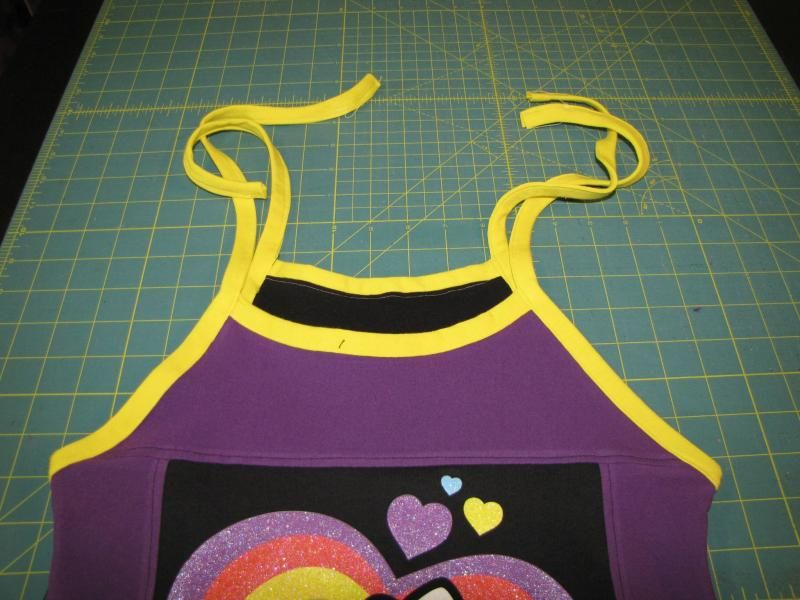
This is what the finished straps and binding look like. Finish the skirt flounces as directed in the pattern. |
Friday, May 2, 2014
Buy One Get One sale
Flash Sale: For the next 4 hours (until 6:15pm PST), Buy One, Get One free in my Craftsy Shop. Buy one pattern and send me a note when you pay through Paypal of which one you'd like free. The free pattern will be emailed within 24 hours of receipt of payment.
Note: Free pattern must be of equal or lower price to the one purchased.
Tuesday, April 1, 2014
Spring sale - save 30%

Subscribe to:
Posts (Atom)